Showing posts with label sew. Show all posts

Bowtie Onesie!

I've seen a lot of onesies that have ties sewn or ironed on, but rarely have I seen a onesie with a bowtie! These bowtie onesies from Shwin and Shwin are super stylish for infants to toddlers! They can't pull them off! I'm making some of these for my little guy! I'll probably give some away for shower gifts too!


(Found via Craft Gossip.)


BEAUTIFUL Flower Pillow

When I saw this flower pillow, I gasped at the beauty of it. Squeezing It All In made it from on old sweater. I want some pillows like this!!!


See how to make a flower pillow.

Some Beautiful Highlights!


Here are just a few of the really cool projects I liked at today's party. I plan on posting a few more another day! Hope you like them!


Make a chevron print out of yarn like Tattered and Inked did. It will add some texture and variety to the print! I think it looks very cool.


I love all things bandana so this bandana skirt caught my eye! What a fun twirl skirt for a little girl. Sun Scholars has the tutorial.

This shirt with a bow in the back is so cute! Usually it is the front of the shirt that is embellished, but I'm loving this idea from Inspiration and Realisation.

Belts are "in" right now and this ribbon belt is "hot." The ribbon and the fabric flowers are darling, not to mention the colors! See how to make this at Love City!


Here is another great belt to add to your wardrobe! Not only is this elastic rosette belt super stylish, it is SUPER easy to make! I think you could make 5 or 6 in one hour. See how at Suburbs Mama!


Don't you wish you could wear a cute nursing shirt after a baby comes? Well, I Make Stuff has come up with not only a cute nursing shirt, but a drop-dead gorgeous ruffly nursing shirt. You've got to see how to make one for yourself.


Turn some old (or new molding) into a fun sign. Don't you love the colors, words and "essence" of this baseboard sign at Craftberry Bush! Beautiful!!!


Guest Blogger - A Little Tipsy - Ruffly Knit Skirt

Hi There! I am so excited to be here on Someday Crafts! I met Michelle at a conference and I have never laughed so hard. She is one of the sweetest, most genuine people I have met.


Michelle, from A Little Tipsy here, taking the wheel for the day!


Nope not drunk (what a relief you will not be taking your tour with a drunk driver), I may or may not be a bit clumsy though.


A little about me, I am a SAHM with one crazy 3 year old boy, a 6 month old baby boy, and a big geek for a husband. I love keeping busy and sharing all my projects and adventures whether they be home decor, holiday projects, activities for the kiddos, or discovering how to get permanent marker off granite counter tops. Turn to me for projects you can do during nap time for less money than lunch out.


Here are a few of my favorite projects...


So, enough about me...let's get on to the tutorial. A skirt tutorial to be exact. Bet you've never seen one of those in blogland before ;) I'm gonna show you how to make a skirt anyhow. A really easy one, because if I can do it, you can definitely do it!


It all started with a huge box full of "vintage" knit fabric and combined with a girl's craft weekend at Bear Lake evolved into these...


So, by vintage I mean fabric my mom purchased in the 80's to make t-shirts, then stored in a huge box and recently gifted to my sister. Good thing the 80's are back. We rummaged through and found 3 pieces that worked perfectly!


Supply list:


  • knit fabric in contrasting colors.


  • rotary cutter and mat


  • elastic for the waistband


  • sewing machine


  • needle and thread


  • someone who can sew a straight{ish} line (in this case, for me, my sister Jen)


Directions


1. Measure around the waist and to the knee of the person for whom you are making the skirt. Add 1 1/2 to 2 inches to the length of the skirt (depending on how thick your elastic is) for the waistband. Add some width as well so the skirt can gather. {We added 6 inches for a 7 year old and 4 inches for a 1 year old.}


2. Cut out a rectangle according to your measurements using a rotary cutter.


3. Cut 1 1/2 inch strips of your contrasting material twice as long as the width of your skirt for the ruffles.


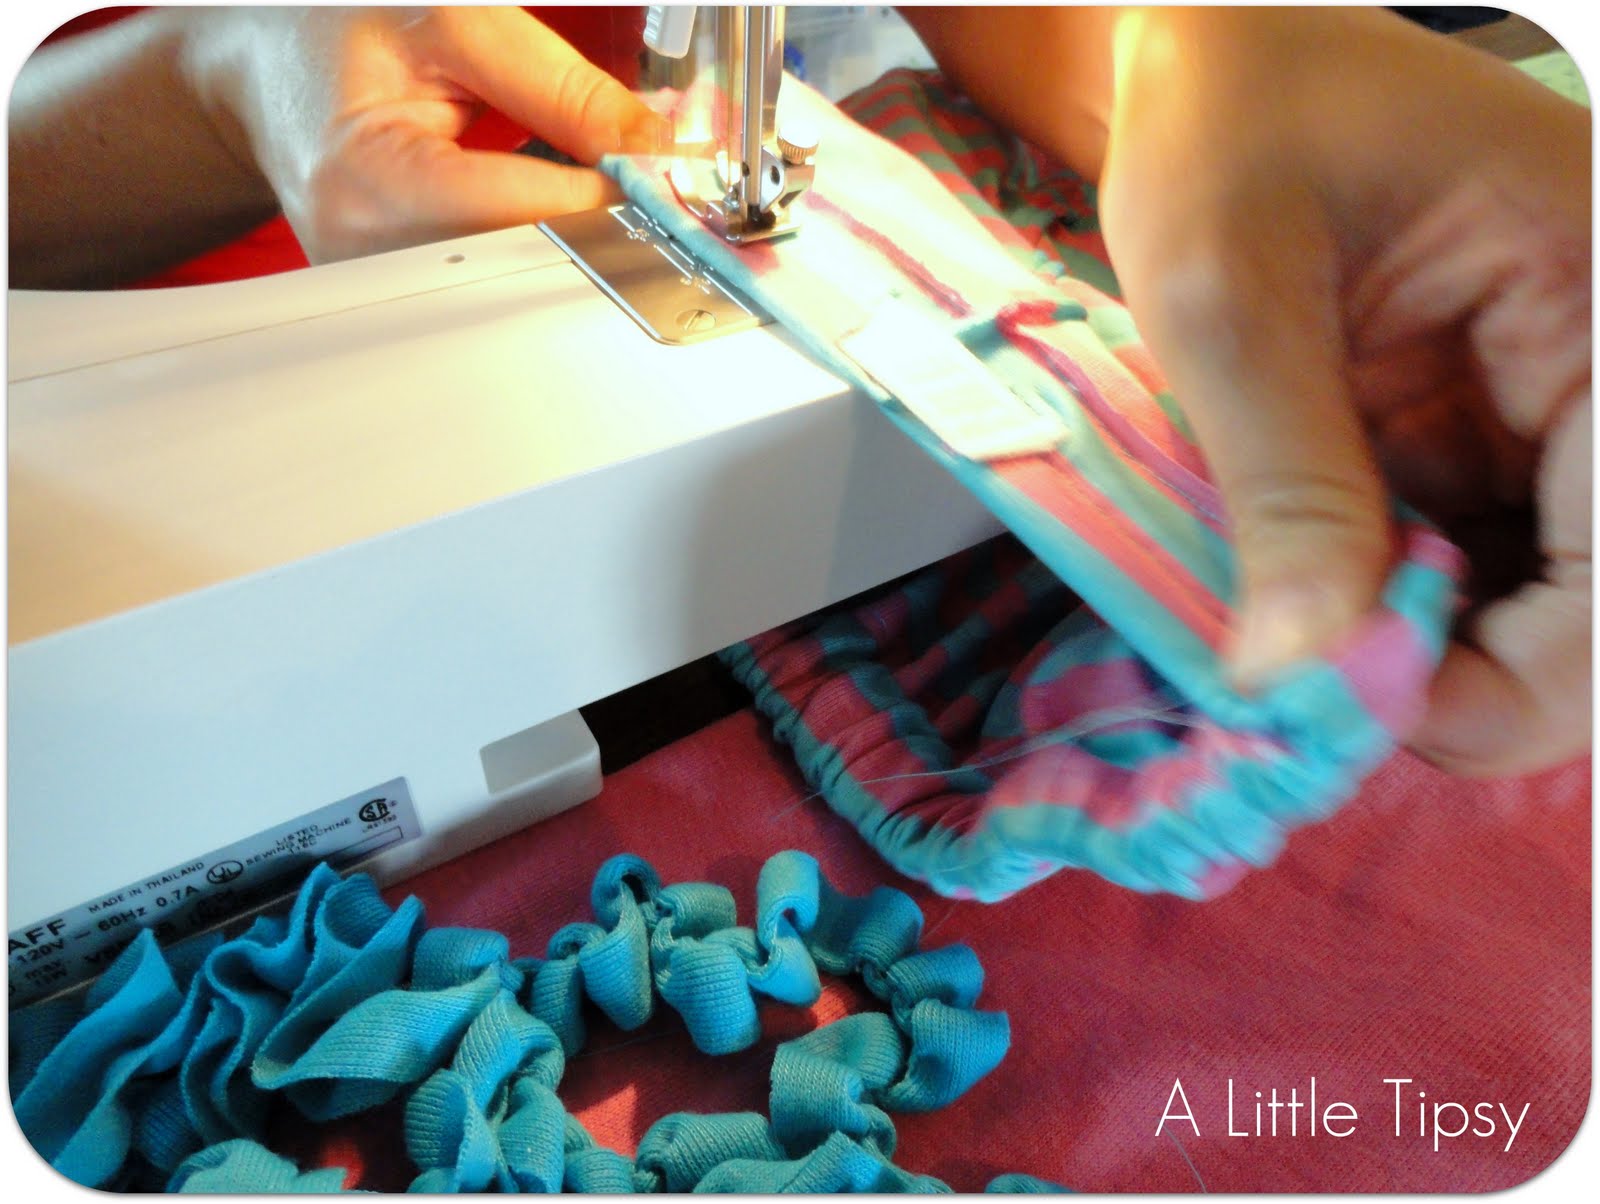
4. Sew a loose stitch down the center of each strip. Once sewn, with each strip, hold one string and carefully pull the other to gather the material into ruffles.


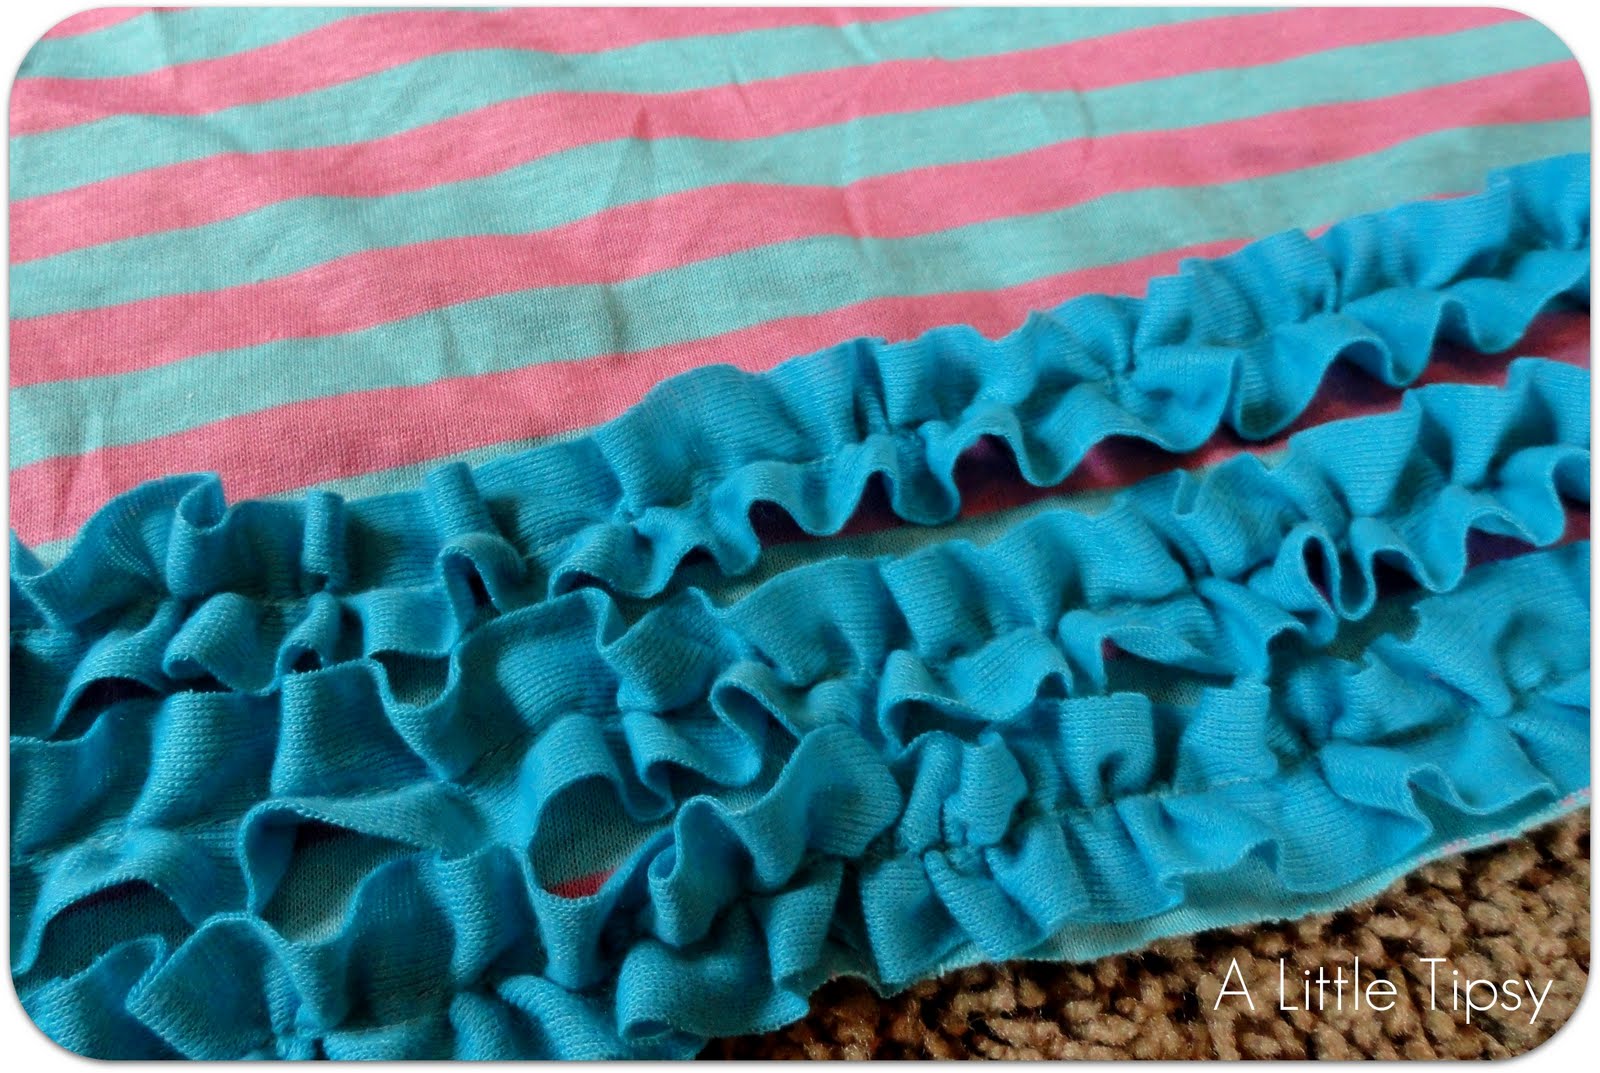
5. Pin a ruffle strip on the bottom of the skirt fabric. Don't worry about hemming the bottom of the skirt fabric because it will not show and it is knit so it will just roll up and will not fray. Sew the ruffle on with a straight stitch right down the center. Pin and sew the other ruffles on one at a time right next to each other. {We did 3 ruffles for the girl skirt and one ruffle for the baby skirt}


6. Next, add the elastic waistband. Fold over the top of the skirt leaving room for your elastic and sew a straight line across making a tube for the elastic to go in.


7. Measure your elastic an inch or two shorter than the child's waist so the skirt will stay up. Put a safety pin on the end of your piece of elastic to feed it through the tube.


8. Sew a straight stitch down the middle of the elastic so it does not slide around inside. Stretch the elastic and material taut as you go along so it will gather when you let it go.


9. Fold the skirt material in half with the wrong side out and sew up the side. Your skirt will only have one seam so you can decide if you want it on the side or the back. We put ours on the side.


10. For the flower, cut six 3-inch circles. Fold each circle in half twice, leaving the second fold off a little for dimension. These will be the petals.


{If you want, you could do this part differently and assemble the flowers and then just hand sew them on}


11. Pin three of the petals on the skirt over the ruffles in a circle shape with the points facing in. You can either use your machine or hand stitch a line about a third of the way out from the point to hold the petals in place.


12. Place the next three petals over the gaps in the first three and hand sew (so you can get closer to the end so the stitching won't show under the flower middle) on securely.


13. There are two way to make the middles:


A. Striped-We made this one by cutting out a 1 1/2 inch circle and folding it on itself alternating directions 4 times and stitching it to stay in place. We then cut of the point so it would sit flatter. We used two of these for the middle.


B. Blue-this was a leftover piece of a ruffle we just gathered and stitched on. We just used one piece.


14. Hand stitch the middle in the flower and you are all set!


Cute little matchy skirts for sissies!


My cute little nieces all dolled up in their new skirts. This is even after they survived a day of school programs, naps and playing with friends!


Swing over to A Little Tipsy to get the tutorial on the matching hair accessory {braided rosette with stitched leaves} because this tutorial was already a mile long.


How to make a flower clip


A big thanks to Michelle for having me!


P.S. Don't forget to sign up for free Tipsy updates via RSS or email.


THANKS, MICHELLE! I love that "vintage fabric" and the darling knit ruffle skirts. Michelle is a such a cutie! She's got a cute sense of humor and has really fun ideas on her blog! I visit her often (via A Little Tipsy). Many times, I have downloaded or laughed at something she does! And her projects are easy and economical.


DIY under $5

In fact, she hosts a DIY $5 and Under linky on Wednesdays. It's a great place to get awesome ideas for those of us on a budget!


Visit A Little Tipsy today and become a follower.

Chevron Swing Top

You got to check out this chevron swing top at Brassy Apple. It's smokin' hot! The chevron pattern is subtle and beautiful and the style of the top is so versatile. This an awesome shirt for summer!


Bow Pillow

See Kate Sew created a super easy, yet super stylish bow pillow. It looks great on top of the vintage suitcase chair she made.


See how to make a bow pillow.

Pinafore Tutorial and Pattern

Smashed Peas and Carrots is sharing a pattern for this darling pinafore. Not only is the material darling, the pinafore itself is adorable.


Princess Belle T-shirt Dress

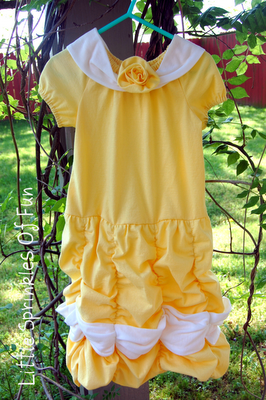
Chances are that if you have a little girl, they love princesses. I've looked at the price on princess costumes/dress ups and they are expensive and fall apart easily. I'm thinking a Belle dress made from t-shirts is not only inexpensive and adorable, but durable! Check out this princess dress that Little Sprinkles of Fun made using a few tutorials she found. (She links to the tutorials in her post.) Great for a Disney vacation or for parading around the house.


Ruffle Leg Jumper

This ruffle leg jumper looks like one of those boutique items you would pay $40-60 for. It's adorable. With the help of The Little Giggler you can make one by yourself with fabric that you love!


Faux Chenille Applique

Peanut To Princess tried a faux chenille technique on an applique for a shirt. I think it looks fabulous! While a normal giraffe applique would have been cute, this technique adds a lot of texture. Cool idea!


Oh So Comfy Skirt Tutorial

This simple, but elegant skirt made by Smashed Peas and Carrots looks so comfortable and easy to make. The waistband looks like heaven. (I even think a pregnant lady like myself could wear it!)


HI Everyone! If you haven't voted for my entry at Vintage Revivals, I really need YOUR help in making it into the top 15 so I can get a better chance of getting Mandi at Vintage Revivals to come to my house! PLEASE VOTE FOR #111 RIGHT NOW!

I'm desperate! Just go to this post, scroll down to #111 and click on the star below my entry! THANKS SO MUCH!

****If you want to vote for my entry more than once, you have to vote from a different computer. Go to a computer lab:) You can vote for upto 5 entries****


JCrew Spring Dress Knock-off AND A Link to 20 Knock-offs

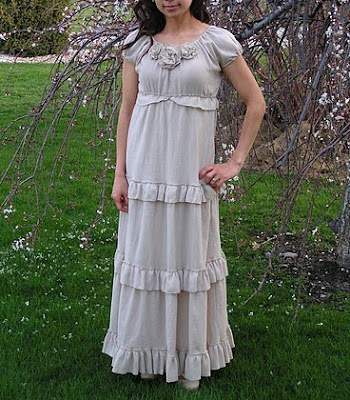
Tea Rose Home has created another beautiful and feminine masterpiece. She knocked-off a JCrew dress normally priced at $750.00 for $13. The dress looks so comfy and beautiful! Love it!


If you are looking for some more gorgeous knock-offs, you must visit KoJo Designs to see 20 awesome knock-offs. They hosted a knock-off month full of tutorials. Check out all the links and tutorials at KoJo Designs.


3 Great Knock-offs!

Don't bother paying the $46 for a darling J. Crew knock-off dress for your little one. Make it yourself with a shirt from your closet with the help from Naptime Crafters.


The Ivy Cottage knocked-off a Z Gallerie display. What a statement it makes on wall! See the Z Gallerie mirror artwork.


This anthro tank knock-off is super cute! Love the bow and the cascading front. Learn how to make it at Southern Fairy Design.


All these great ideas were linked up to the Whatever Goes Wednesday Party!

Some Party Beauties!


I never could highlight all the beautiful and tasty creations at every party! It's so hard! But here are a few that I love!!!!


Seven Thirty Three made over her master bedroom and it is to die for!!! I'm loving the colors and design. But most of all, I love that beadboard wall headboard! It looks awesome!


I'm loving this ruffle refashioned shirt from See Kate Sew! Darling and super stylish!

Chameleon Girls made this outrageously cool book lamp! Such a great idea for one who loves books (and can part with a few!!!)

What do you do with all those plastic eggs left over from Easter? Especially the ones that have one side broken or lost? Well, you should make a few into these plastic egg tea cups like The Moody Fashionista. Such a fun idea!!!


I want to plant some flowers in some rain boots! I love this spring display from Blueberry Craft and Hobby Time.


Check out more links from the Whatever Goes Wednesday party!


Two Pairs of Short out of One Pair of Jeans

Naptime Crafters has a brilliant idea for a pair of jeans with holes in the knees! She turned her's into shorts for her and her daughter! How cool to get two pair of shorts out of one set of jeans! Great upcycling idea!!!


Check out City Deals in your area today. You can take off an additional 20% off anything (of the already LOW prices) when you enter SUNNY20.